Step 1 - To do this, you will first need to create a Zapier account if you do not already have one. They have a free tier as well various paid options depending on your use.
Once you have done that, click this link so that you can access the SpecifiedBy app on Zapier.
Step 2 - You will also need to have the Zapier integration activated on your SpecifiedBy account (if you are unsure about this, or need this, please contact [email protected]).
When this has been activated, you will see a Zapier Integration key in your 'Notification Settings' page, like this:

You'll need this key later.
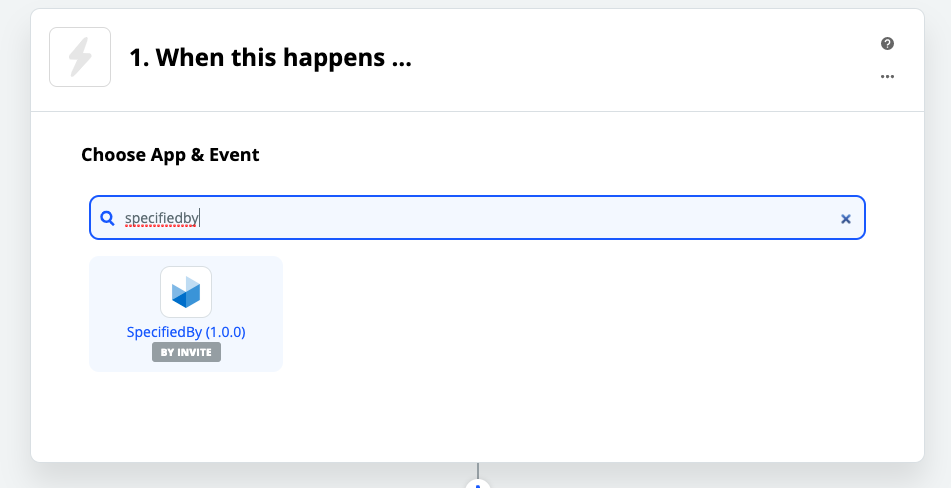
Step 3 - To start creating your connection between SpecifiedBy and your CRM (or any other system you prefer), log into Zapier and click the 'Make a Zap' button. In the first step of your new 'Zap' search for and select SpecifiedBy.
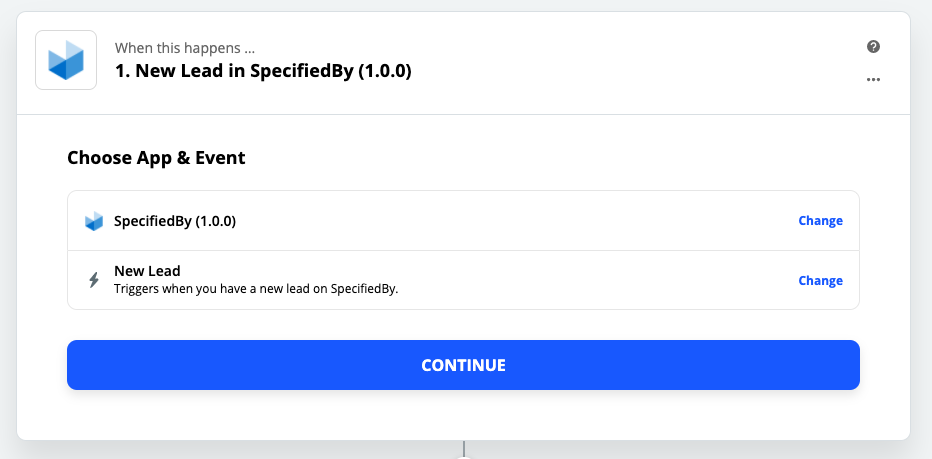
You'll then see a view like this, which confirms that the trigger on SpecifiedBy that Zapier will look for is a 'New Lead' (this is currently the only trigger we provide, but will add others in future and are always open to suggestions).
Step 4 - If you are doing this for the first time, you will need to connect your SpecifiedBy account to Zapier, and so you will be asked to sign in to SpecifiedBy.
When you click this button, you will be asked to enter the email which you use to log into SpecifiedBy and your unique Zapier key, as described in Step 2.
Enter these details to connect your SpecifiedBy account to Zapier and then press the 'Continue' button.
Step 5 - next, you will be prompted to run a test, to see if Zapier can find a lead on your account (note, if you have a new account and there are no leads yet, Zapier will use a test lead we have created). Once the test is completed, press continue to move on.
Step 6 - the next step is to pick the CRM (or any other system) where you would like to pass your leads from SpecifiedBy. Zapier has integrations with thousands of tools, so if you use any common CRM software, there will be a connection available. You can also connect to tools like Google Sheets if you don't use a CRM and just want to get the information out of SpecifiedBy and into a more accessible format.
Once you have done this, you will be provided with various options (called 'Actions') about what you want to do when a New Lead is triggered on SpecifiedBy. This will vary depending on which system you are connecting to, but for most CRM's the option you will be looking for is 'Create Contact' or something similar.
Pick your action and then click 'Continue'.
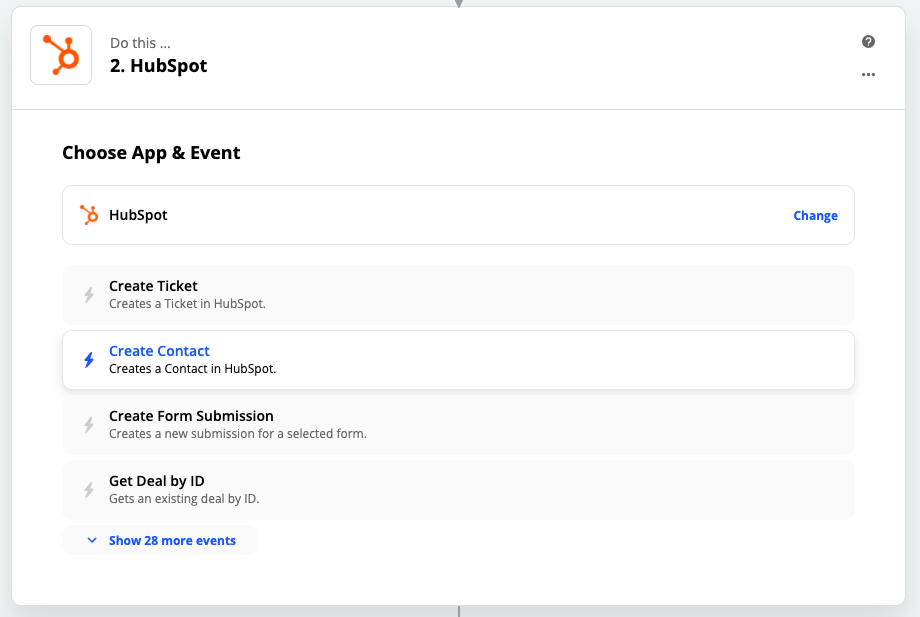
(In this example, I am using the Hubspot CRM)
Step 7 - The same as in Step 4, if you are doing this for the first time, you will need to connect your CRM or other app of choice to Zapier. The process will be the same or very similar to the steps outlined above, so simply follow Zapier's instructions on how to connect your account.
Once you have done this, press 'Continue'
Step 8 - Now you will be shown all the fields in your Action app (the app you are sending data to, from SpecifiedBy - in this example Hubspot CRM) which you can send data to.
The task now is simply to match up the data coming from SpecifiedBy, to the relevant fields in your CRM.
(Note: the fields available will vary depending on your app of choice and action you are triggering).
As an example, I can simply pass the Lead's first name from SpecifiedBy, to the First Name field for a contact in Hubspot by picking the Lead First Name option from the data points available to pass over from SpecifiedBy.
Once you have matched up all the necessary fields and data, press continue to move to the final test of the process.
Step 9 - Zapier will ask you to run a test to check that everything is working OK. Once you do this, you should get a confirmation that everything is working.

You should also check in your Action app to make sure that the data you expected to be passed over has worked correctly.
In this case, by checking Hubspot we can see this new contact has been created.
Step 10 - If everything has worked OK, the final step is to turn on your Zap and give it a name.
Additional Options
We recommend having a play around with Zapier to best understand the powerful tools you have available and how you can use this to create useful, custom workflows and automations.
For example, Zapier has a built-in 'Filter' option, which allows you to add a step between the 'Trigger' and the 'Action' steps.
Lets say you only want to pass new leads from SpecifiedBy who are Architects over to your CRM, Zapier allows you to do this very easily:
We look forward to seeing what Zaps you come up with.
Any questions, contact [email protected]